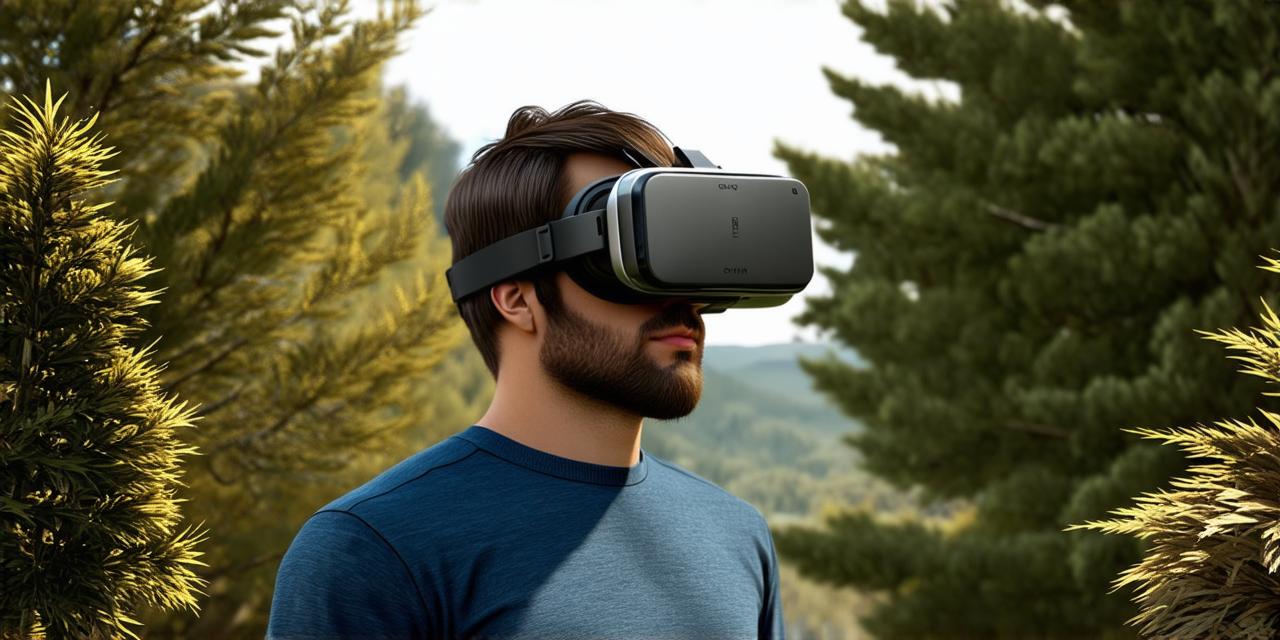
Virtual reality (VR) is a technology that allows users to experience a digital world as if they were really there. One of the most popular applications of VR is in the field of video, where it allows for the creation of immersive, interactive experiences.
What is a 360-degree virtual reality video?
A 360-degree virtual reality video is a type of video that captures the entire environment around the camera, allowing users to look in any direction they want and experience the world as if they were there. This type of video is particularly well-suited for use in VR applications, where it can create a truly immersive experience.
Equipment needed
To create a 360-degree virtual reality video, you will need the following equipment:
- A 360-degree camera: This is a specialized type of camera that captures the entire environment around it and stitches together the individual images to create a seamless, 360-degree video. Some popular options include the GoPro Omni 180F, the Samsung Gear 360, and the Ricoh Theta S.
- A tripod: To ensure that your camera is stable during shooting, you will need a tripod. Make sure to choose one that is sturdy enough to support the weight of your camera.
- Editing software: Once you have captured your footage, you will need software to edit it together and add any necessary effects. Some popular options include Adobe Premiere Pro, Final Cut Pro, and Sony Imaging Edge Pro.
Shooting your video
To shoot a 360-degree virtual reality video, follow these steps:
- Choose your location: Select the environment you want to capture, making sure that it is well-lit and has no obstacles in the way of the camera.
- Set up your camera: Mount your camera onto a tripod and make sure that it is aimed at the center of the environment you want to capture.
- Capture your footage: Start recording and move the camera around slowly to capture the entire environment. Make sure to keep the camera stable and avoid any sudden movements that could cause the footage to be blurry.
- Stitch together your footage: Once you have finished shooting, use editing software to stitch together the individual images and create a seamless, 360-degree video.

Editing your video
To edit a 360-degree virtual reality video, follow these steps:
- Import your footage: Use your editing software to import the footage you captured.
- Adjust the stitching: If necessary, adjust the stitching settings to ensure that the individual images are properly aligned.
- Add effects and transitions: Use the editing software to add any desired effects and transitions to the video.
- Export your final video: Once you are happy with your edits, export your final virtual reality video in the appropriate format for use in a VR application.


