Introduction
Virtual reality (VR) has gained immense popularity in recent years, especially in the field of tourism. With VR technology, users can experience a realistic representation of a place or location without physically being there. This makes it an ideal solution for businesses and organizations to showcase their products, services, or even entire cities and countries to potential customers.
Chapter 1: Equipment Requirements
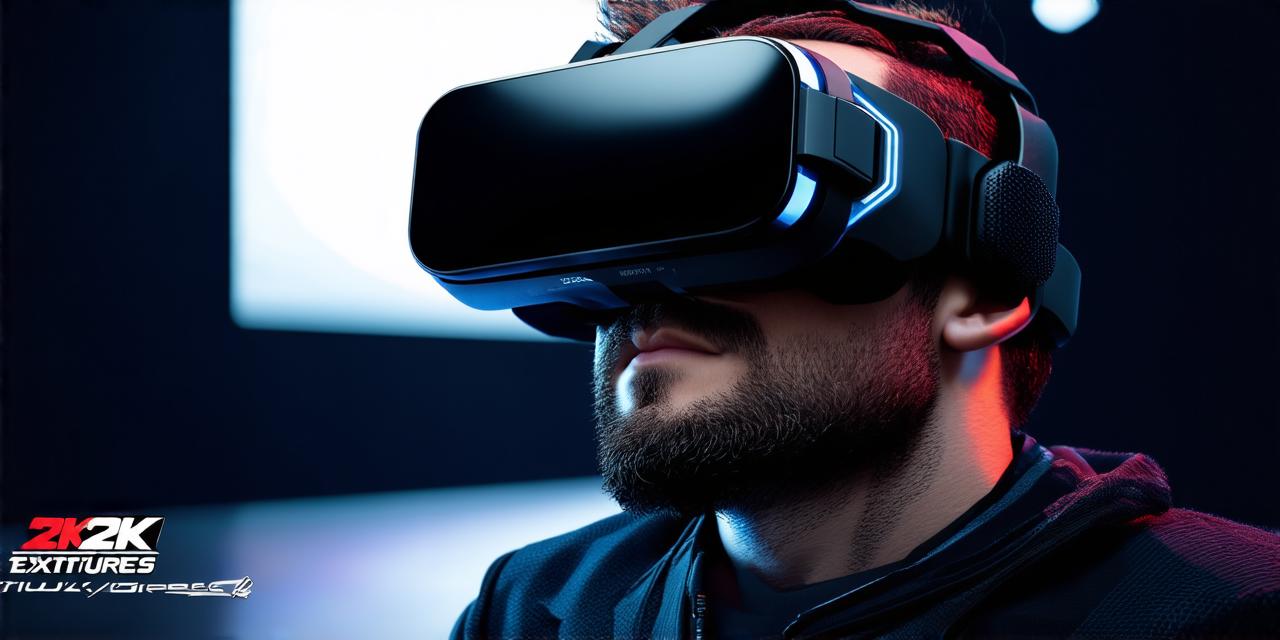
The first step in developing a virtual reality tour is to gather the necessary equipment. This includes a VR camera, tripod, computer with VR software, and a head-mounted display (HMD) for the user to wear while experiencing the tour.
Tips on Selecting the Right Equipment
- Choose a high-quality VR camera that can capture 360-degree images and videos. This will ensure that your users get a realistic view of the location.
- Make sure you have a sturdy tripod to mount the camera, as it will be essential for capturing clear images and videos.
- Ensure that your computer has the necessary specifications to run VR software. A powerful graphics card is recommended, as well as sufficient RAM and storage space.
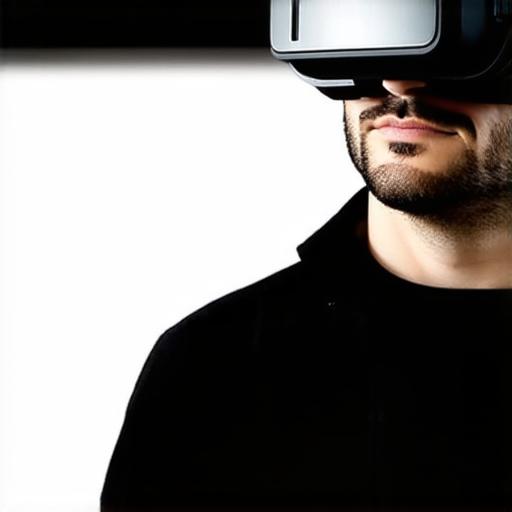
- Select a comfortable HMD that fits securely on the user’s head and provides an immersive experience.
Chapter 2: Choosing the Location
Once you have the necessary equipment, the next step is to choose the location for your virtual reality tour. This could be anything from a scenic countryside view to a bustling cityscape or even a remote island paradise.
Factors to Consider When Choosing a Location
- Look for unique and interesting features that will make the location stand out and provide an engaging experience for users.
- Consider the user’s perspective and choose a location that will allow them to explore different areas of interest.
- Ensure that the location is easily accessible and safe for users to visit.
Chapter 3: Capturing the Content
With your equipment and location in place, it’s time to capture the content for your virtual reality tour. This involves taking high-quality images and videos of the location using the VR camera.
Tips on Capturing the Perfect Content
- Take multiple shots from different angles to ensure that you cover all aspects of the location.
- Pay attention to lighting conditions, as this will affect the quality of your images and videos.
- Use post-production techniques such as color correction and editing to enhance the overall look and feel of your content.
Chapter 4: Editing and Designing the Tour
Once you have captured the content, it’s time to edit and design the virtual reality tour. This involves using VR software to create a seamless and engaging experience for users.
Tips on Editing and Designing the Tour
- Use storytelling techniques to guide users through the location and highlight key features and points of interest.
- Incorporate interactive elements such as buttons, levers, and other controls to allow users to explore different areas of the location.
- Ensure that the design is user-friendly and easy to navigate.
Chapter 5: Testing and Launching the Tour
With your virtual reality tour complete, it’s time to test it and launch it to the public.
Tips on Testing and Launching the Tour
- Test the tour with a small group of users to identify any bugs or issues that need to be addressed.
- Make any necessary changes based on user feedback to ensure that the tour is engaging and enjoyable for all users.
- Promote the tour through social media, your website, and other channels to reach a wider audience.
Conclusion
Developing a virtual reality tour can be an exciting and rewarding experience for businesses and organizations looking to showcase their products or services in an innovative way. By following these steps and using the right equipment and techniques, you can create an engaging and immersive experience that will captivate users and leave them with lasting memories.
