Virtual reality (VR) technology has come a long way in recent years, allowing users to experience immersive environments from the comfort of their own homes. One of the key components of VR is the headset, which tracks the user’s movements and displays a virtual world in front of them. In this article, we will provide a step-by-step guide on how to operate a VR headset.
Requirements
Before you begin, make sure you have the following items:
- A compatible computer or gaming console
- A VR headset (such as the Oculus Quest 2 or HTC Vive)
- A high-quality monitor for setting up the VR room
- A set of noise-canceling headphones
- Motion sickness medication (optional)

Setting Up the VR Room
The first step in operating a VR headset is to set up the VR room. This involves creating a space that is free from obstacles and has enough room for you to move around comfortably. Follow these steps to set up your VR room:
- Choose a location for your VR setup that has enough space to move around, ideally with at least 6 feet of clearance all around.
- Remove any furniture or objects from the area that could interfere with your movements, such as chairs, tables, and shelves.
- Make sure there are no trip hazards on the floor, such as rugs or cords, that could cause you to fall.
- Adjust the lighting in the room so that it is evenly lit and free from glare or reflection. This will help reduce motion sickness and make it easier to see in the virtual world.
- Plug in your computer or gaming console and connect it to your VR headset using a USB cable.
- Connect your high-quality monitor to your computer or gaming console and place it in a location where you can see it clearly while wearing your VR headset.
- Put on your noise-canceling headphones and make sure they are securely fastened.
Connecting Your Headset
Once your VR room is set up, it’s time to connect your headset to your computer or gaming console. Follow these steps to connect your headset:
- Turn on your computer or gaming console and make sure it is connected to the internet.
- Open the settings menu on your computer or gaming console and navigate to the "VR" or "Gaming" section.
- Select the option to connect your VR headset to your computer or gaming console using a USB cable.
- Follow the prompts on your computer or gaming console to calibrate your VR headset and set up your tracking settings. This will ensure that the virtual world is displayed accurately in front of you.
- Once your headset is connected, put it on and adjust the straps so that it fits comfortably on your head. Make sure the lenses are adjusted to the correct distance for your eyes.
Getting Started with Your VR Headset
Now that your VR headset is connected and you are wearing it, it’s time to get started with exploring virtual worlds. Follow these steps to get started:
- Open a VR game or application on your computer or gaming console that is compatible with your VR headset.
- Choose a virtual world or experience that you want to explore and press the "Enter" button to enter it.
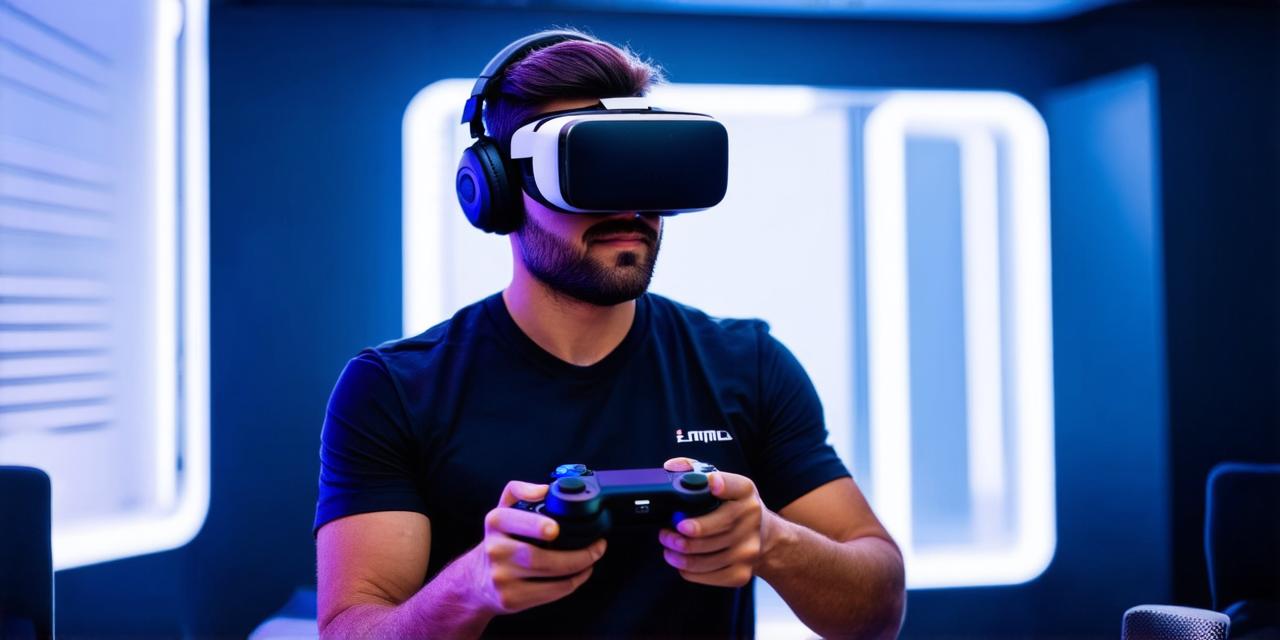
- Once you are in the virtual world, use your hand controllers to interact with objects and perform actions. You can also move around by looking in different directions and tilting your head.
- If you feel motion sickness while wearing your VR headset, take a break or try adjusting the settings on your computer or gaming console to reduce motion sickness.


